Disclosure: As an Amazon associate, I may earn from qualifying purchases
In our previous article on mini loaf pans, we covered the basics of their usage, materials, and sizes. Now, in this continuation, we delve deeper into some of the most frequently asked questions about these versatile baking tools.
Building upon the knowledge we established in the previous article, we’ll explore new tips and techniques for making the most out of your mini pans.
Read on to discover how to take your baking skills to the next level.
Building upon the knowledge we established in the previous article, we’ll explore new tips and techniques for making the most out of your mini pans.
Read on to discover how to take your baking skills to the next level.
Contents
ToggleFrequently Asked Questions
Do you spray silicone bread pans?
It’s generally not necessary to spray silicone bread pans with cooking spray or grease them with oil or butter. Silicone bread pans are non-stick and flexible, and their smooth surface helps bread to release easily.
However, if you are concerned about your bread sticking to the pan, you can lightly grease the pan with oil or butter.
If you do choose to use cooking spray, make sure to choose a spray that is labeled as safe for use with silicone bakeware. Some cooking sprays can damage the surface of silicone pans, so it’s important to read the label carefully before using them.
Basically, silicone bread pans are a great option for baking bread without the need for added oils or sprays. They are easy to clean, long-lasting, and can produce great results.
What size is a small bread loaf pan?
The size of a small bread loaf pan can vary, but it typically has a capacity of around 1 pound of dough. The most common size for a small loaf pan is 8.5 x 4.5 x 2.5 inches, but you may also find smaller sizes that are closer to 7.5 x 3.5 x 2 inches.
It’s important to check the size and capacity of your pan before using it to ensure that your recipe will fit and bake correctly.
It’s important to check the size and capacity of your pan before using it to ensure that your recipe will fit and bake correctly.
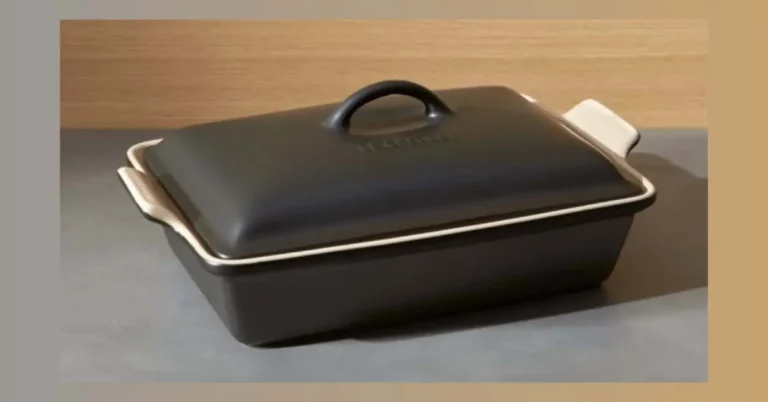
What kind of loaf pan is best for baking bread?
The best kind of loaf pans for baking bread depends on your personal preference and the type of bread you are making. Here are some common types:
You can try experimenting with different types of pans to find the one that works best for you.
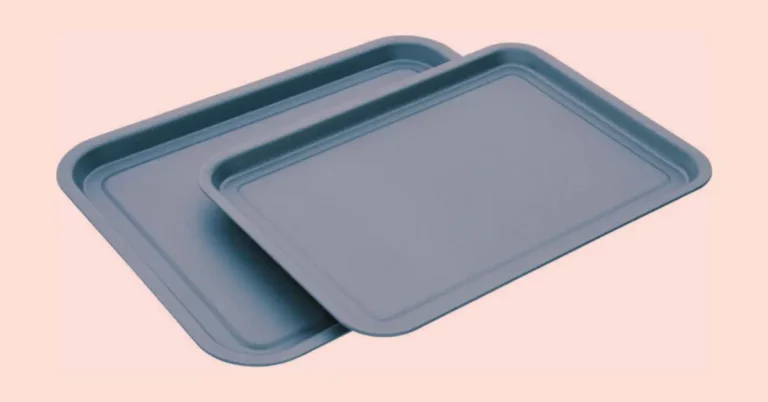
- Metal: These are the most common type of loaf pan, and they are usually made of aluminum or steel. They are durable, affordable, and come in a variety of sizes.
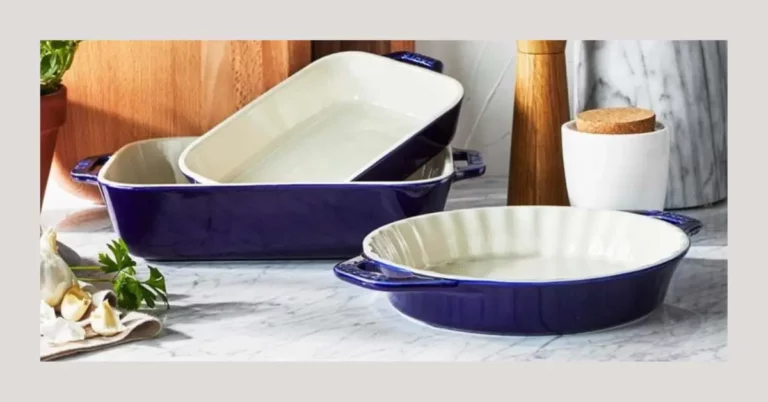
Metal pans conduct heat well and can produce a crispy crust, but they may require greasing to prevent sticking. - Glass: These are made of tempered glass, which can withstand high temperatures. Glass pans distribute heat evenly and allow you to see the color of the crust as it bakes.
They are non-reactive, so they won’t affect the flavor of your bread, but they may be more fragile than metal pans. - Ceramic: These are heavier and more expensive than metal or glass pans, but they can be very attractive and add a rustic touch to your baking.
Ceramic pans distribute heat evenly and retain heat well, which can help your bread bake evenly, but they may require extra care and attention to prevent cracking or chipping. - Silicone: These are a newer type of loaf pan that are made of flexible silicone. They are non-stick and easy to clean, and they don’t require greasing.
Silicone pans are also oven-safe and dishwasher-safe, but they may not produce the same crispy crust as metal pans.
You can try experimenting with different types of pans to find the one that works best for you.
What are the dimensions of a Wilton mini loaf pan?
The dimensions of a Wilton mini loaf pan can vary depending on the specific model, but a common size is 5.75 x 3 inches (14.6 x 7.6 cm) for each individual cavity.
Some Wilton mini loaf pans may have slightly larger or smaller cavities, so it’s always a good idea to check the specific dimensions of the pan you are considering before purchasing.
Some Wilton mini loaf pans may have slightly larger or smaller cavities, so it’s always a good idea to check the specific dimensions of the pan you are considering before purchasing.
How many ounces is a mini loaf pan?
The size of a mini loaf pan can vary, but a common size is 5.75 x 3 inches (14.6 x 7.6 cm) for each individual cavity. The volume capacity is typically around 8-10 ounces (227-283 grams) per cavity.
However, it’s important to check the specific capacity of the bread pan you are using, as it may vary depending on the brand and model.
However, it’s important to check the specific capacity of the bread pan you are using, as it may vary depending on the brand and model.
Can you freeze mini loaf pans?
Yes, you can freeze mini loaf pans. If you have leftover baked goods in the pans, allow them to cool completely and then wrap them tightly in plastic wrap or aluminum foil.
Place the wrapped pans in a resealable freezer bag, label it with the contents and the date, and then store in the freezer for up to 3 months.
If you are freezing empty loaf pans for later use, make sure they are clean and dry before storing them. Place the mini pans in a resealable freezer bag, label it with the contents and the date, and then store in the freezer until ready to use.
When you are ready to use frozen pans, allow them to thaw at room temperature for a few hours before baking or using them again.
How much batter in pampered chef mini loaf pan?
The amount of batter that a Pampered Chef mini loaf pan can hold may vary depending on the specific model. However, a common size for those pans is approximately 5.75 x 3 inches (14.6 x 7.6 cm) for each cavity and they can hold around 8-10 ounces (227-283 grams) of batter per cavity.
It’s always a good idea to check the specific capacity of your loaf pan before adding the batter to ensure that you don’t overfill it and that your baked goods come out correctly.
You can usually find the capacity of the pan either on the packaging or in the product description.
It’s always a good idea to check the specific capacity of your loaf pan before adding the batter to ensure that you don’t overfill it and that your baked goods come out correctly.
You can usually find the capacity of the pan either on the packaging or in the product description.
What makes quick bread too crumbly?
- Too much flour: If you measure too much flour or pack it down too tightly when measuring, the resulting batter will be too dry and crumbly.
- Too little liquid: Not enough liquid, such as milk or water, can cause the batter to be too dry and crumbly.
- Overmixing: Overmixing the batter can cause the gluten to develop too much, resulting in a dense and crumbly texture.
- Not enough binding ingredients: Quick breads need a binding ingredient, such as eggs or oil, to help hold the ingredients together. If you don’t use enough of these binding ingredients, the bread can be too crumbly.
- Improper baking: Overbaking the bread can cause it to be dry and crumbly, while underbaking can result in a raw and gummy texture.
To avoid a crumbly quick bread, make sure to measure your ingredients accurately, use the correct ratio of wet to dry ingredients, mix the batter just until combined, and follow the baking instructions carefully.
How do you freeze mini loaves of zucchini bread?
- Allow the zucchini bread to cool completely after baking.
- Wrap each mini loaf tightly in plastic wrap, making sure there are no gaps or air pockets. Alternatively, you can wrap each loaf in aluminum foil.
- Place the wrapped mini loaves in a freezer-safe plastic bag or airtight container. Label the bag or container with the date and contents.
- Place the bag or container in the freezer.
- To thaw the mini loaves, remove them from the freezer and let them sit at room temperature for a few hours or overnight.
- Once thawed, you can either serve the mini loaves as is or reheat them in the oven or microwave for a warm and fresh-baked taste.
Should sweet bread be refrigerated?
Sweet bread, like any other type of bread, does not necessarily need to be refrigerated if it will be consumed within a few days. However, if you plan to keep it for more than a few days, refrigeration can help to extend its shelf life.
If you do refrigerate sweet bread, be sure to wrap it tightly in plastic wrap or place it in an airtight container to prevent it from drying out or absorbing any odors from other foods in the fridge.
Before serving, you can let the bread come to room temperature or warm it up in the oven or microwave for a fresh-baked taste.
What size loaf pan for quick breads?
The size of the loaf pan for quick breads will depend on the recipe you are using, but the most common size is a 9×5 inch loaf pan. This size is suitable for most recipes that make one loaf of bread. However, some recipes may require smaller or larger pans.
If you are unsure about what size loaf pan to use for a specific recipe, you can refer to the recipe instructions or do a quick search online for similar recipes to see what size loaf pan they recommend.
If you are unsure about what size loaf pan to use for a specific recipe, you can refer to the recipe instructions or do a quick search online for similar recipes to see what size loaf pan they recommend.
Are there different size loaf pans?
Yes, there are different sizes of loaf pans. The most common sizes for loaf pans are:
There are also specialty loaf pans available for making different types of bread, such as baguette pans or pullman loaf pans. It’s important to use the size of loaf pan specified in a recipe to ensure the best results.
- 9×5 inch pan: This is the standard size for most recipes and is suitable for making one loaf of bread.
- 8.5×4.5 inch pan: This size is slightly smaller than the standard size and can be used for recipes that make a smaller loaf of bread.
- Mini loaf pan: This type of pan can be used to make several smaller loaves of bread at once. The size of the mini loaf pan can vary, but most can hold between 4 to 8 mini loaves.
There are also specialty loaf pans available for making different types of bread, such as baguette pans or pullman loaf pans. It’s important to use the size of loaf pan specified in a recipe to ensure the best results.