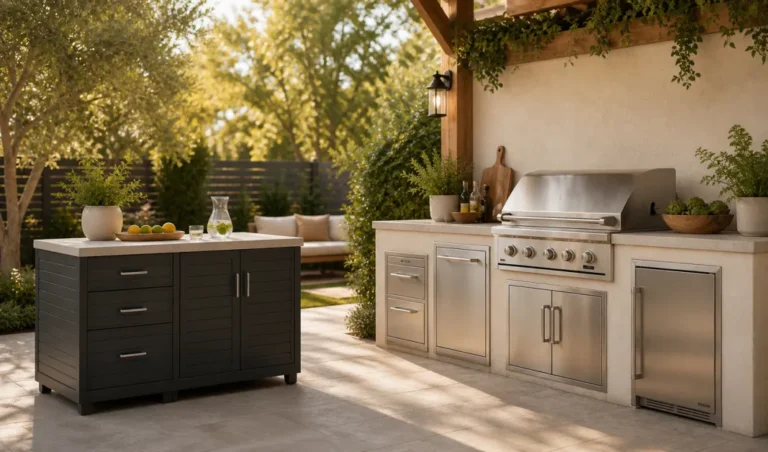
An outdoor kitchen transforms your backyard from a place where you grill burgers into an actual cooking space. But here’s the thing – slapping cabinets into your patio without a plan is how you end up with warped doors and rusted hinges by next summer. Installing outdoor kitchen cabinets the right way means understanding weather exposure, proper anchoring, and drainage – details that separate a setup lasting five years from one lasting fifteen.
Installing outdoor kitchen cabinets requires proper site preparation, secure anchoring to a solid foundation, weatherproof sealing, and careful attention to drainage and ventilation. The process typically takes 2-4 days depending on complexity, and success hinges on using marine-grade materials, following manufacturer specs, and accounting for your local climate conditions.
Why Outdoor Cabinet Installation Matters More Than You Think
Your kitchen cabinets indoors sit in climate-controlled comfort. Outdoor cabinets face sun, rain, temperature swings, and humidity that would destroy standard cabinetry in months. The difference between a cabinet rated for outdoor use and one that isn’t comes down to materials and construction – stainless steel frames, marine-grade plywood, powder-coated hardware, and proper sealants that actually hold up.
Getting installation right means your investment doesn’t become a money pit. Improper installation leads to water pooling under cabinets, fasteners rusting, wood swelling, and doors that won’t close. None of that is cheap to fix later.
Prepare Your Site Before You Touch a Single Cabinet
This is where most people skip ahead and regret it. Your cabinets need a solid, level foundation – not a “close enough” concrete pad or wooden deck that’s slightly uneven. Check your base with a level in multiple directions. If you’re off by more than a quarter-inch over a few feet, you’ll spend the next decade fighting doors that won’t align and drawers that stick.
Concrete pads work best for outdoor kitchens. They shed water, don’t rot, and provide stable anchoring points. If you’re building on an existing deck, make sure the structure is sound and rated for the weight you’re adding. A fully loaded outdoor kitchen cabinet setup is heavier than you’d expect – we’re talking several hundred pounds when you factor in the cabinet, countertop, and appliances.
Clear the installation area completely. Remove any debris, old fasteners, or uneven spots. If your concrete has cracks or spalling, patch those first. Water finds every gap, and you don’t want moisture seeping under your cabinets from below.
Gather the Right Tools and Materials
You’ll need more than a drill and a level. Here’s what actually matters:
- Power tools – Drill-driver, impact driver, circular saw (for any cuts needed)
- Measuring and layout – Tape measure, carpenter’s level (24-36 inches), speed square, chalk line
- Fasteners – Stainless steel bolts, lag screws, or concrete anchors rated for outdoor use; never use standard steel fasteners
- Sealants and adhesives – Exterior-grade polyurethane sealant, marine-grade caulk, weatherproof silicone
- Safety gear – Work gloves, safety glasses, dust mask if cutting anything
- Hardware cloth or mesh – Optional but smart for keeping pests out from under cabinets
The fasteners matter more than you’d think. Stainless steel costs more than regular steel, but it won’t rust and stain your cabinets. Galvanized fasteners are a budget option that works, but they eventually corrode. Marine-grade hardware is your best bet for longevity.
Mark and Level Your Cabinet Layout
Before you install anything, dry-fit your cabinets in position. This catches problems before you’ve drilled holes and applied sealant. Check that doors and drawers open without hitting anything, and that the layout makes sense for your workflow.
Use a chalk line to mark the perimeter of where cabinets will sit. Double-check your level in all directions – front to back, side to side, and diagonally. This is tedious, but it’s the difference between cabinets that function smoothly and ones that drive you crazy.
Mark your fastening points clearly. Most outdoor kitchen cabinets have pre-drilled holes, but verify they align with solid substrate – concrete, reinforced deck framing, or whatever you’re anchoring into. Don’t put fasteners in weak spots.
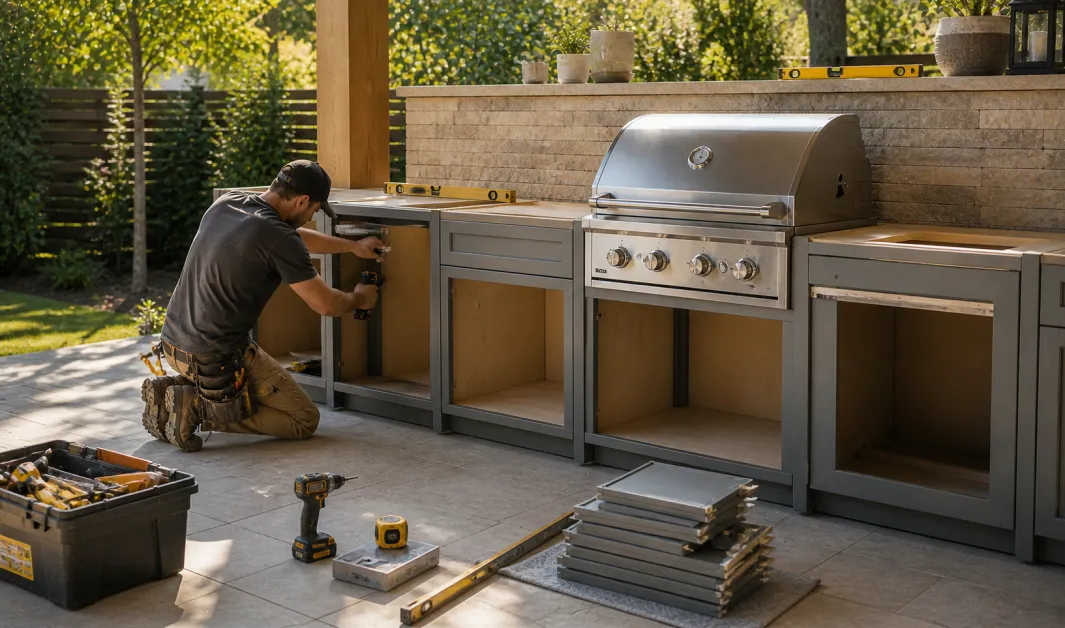
Install Fasteners and Anchor Cabinets Securely
Outdoor cabinets need to be bolted down, not just screwed. Wind, temperature changes, and the weight of items inside create stress that loose fasteners can’t handle. For concrete foundations, use concrete anchors rated for outdoor use – wedge anchors or expansion bolts work well. For deck installations, lag screws into the structural framing are standard.
Space fasteners no more than 16 inches apart along the back and bottom of each cabinet. This distributes weight and prevents racking – that twisting motion that makes doors stick. Tighten fasteners firmly but don’t overtighten; you can crack the cabinet frame or strip fastener holes.
Once cabinets are anchored, check your level again. Shim under cabinets if needed to bring them perfectly level. Any tilt will cause water to pool and doors to swing on their own.
Seal Every Joint and Potential Water Entry Point
This step separates outdoor cabinets that last from ones that fail. Water will find every crack, seam, and gap. Seal them all before you install anything else.
- Apply exterior-grade polyurethane sealant along the base where cabinets meet the foundation
- Caulk any gaps between cabinet sections
- Seal around fastener holes with silicone caulk
- Apply weatherproof sealant to any exposed wood edges or interior surfaces
- Seal the top edges where countertops will sit
Use marine-grade or exterior-rated products only. Standard interior caulk breaks down in UV light and moisture. Let sealant cure fully before exposing it to water – usually 24 hours, but check the product instructions.
Install Countertops and Ensure Proper Drainage
Countertops need to slope slightly away from cabinets so water runs off, not into them. A slope of 1/8 inch per foot is standard. If your countertop doesn’t have this slope built in, you’ll create a water trap that rots cabinets from the top down.
Secure countertops with exterior-rated fasteners and sealant. Leave a small gap between the backsplash and any wall – water gets trapped in tight corners. Use a flexible sealant that can move with temperature changes, not rigid caulk that cracks.
Install a drip edge or trim along the front of the countertop to direct water away from cabinet faces. This is cheap insurance against water damage.
Ventilate and Protect Against Moisture Buildup
Outdoor kitchens need airflow underneath and inside cabinets. Stagnant air traps moisture, which leads to mold, mildew, and rot. Install cabinet feet or spacers that lift cabinets off the foundation by at least 2-3 inches. This allows air to circulate underneath.
If you’re storing items inside cabinets, use ventilation holes or mesh panels on the back to prevent moisture from getting trapped. Some people install small vents on cabinet sides – this helps air move through without letting rain in.
Consider hardware cloth or pest screening under cabinets to keep rodents and insects out while still allowing drainage and airflow.
Common Installation Mistakes to Avoid
Skipping the level check – Even small tilts cause water pooling and door problems. Check multiple times.
Using interior-grade fasteners or sealants – They corrode and fail in months. Spend the extra money on marine-grade materials.
Not accounting for expansion and contraction – Metal and wood move with temperature changes. Leave room for this movement, especially around fasteners and seams.
Ignoring drainage – Water always finds a way. Plan for it by sloping countertops, sealing joints, and creating airflow underneath.
Overloading cabinets before sealant cures – Give everything time to set properly before putting stress on the installation.
Maintenance After Installation
Your outdoor cabinets aren’t set-it-and-forget-it. Inspect seals and caulking annually, especially before winter. Reapply sealant as needed – it breaks down over time from UV exposure and weather. Clean cabinets regularly to prevent mold and mildew buildup. Wipe down hardware and hinges to keep them from corroding.
In harsh climates, consider covering your outdoor kitchen during off-season months. This extends the life of everything significantly.
Frequently Asked Questions
How long does outdoor cabinet installation typically take?
Plan for 2-4 days depending on how many cabinets you’re installing and whether you’re building the foundation from scratch. Most of the time goes to site prep, sealing, and letting sealant cure properly. Rushing this is where things go wrong.
Can I install outdoor cabinets on a wooden deck?
Yes, but the deck must be structurally sound and rated for the weight. Verify the framing is solid and not rotting. Use lag screws into the structural beams, not just the deck surface. Make sure water can drain under the cabinets – a wooden deck needs good airflow underneath to prevent rot.
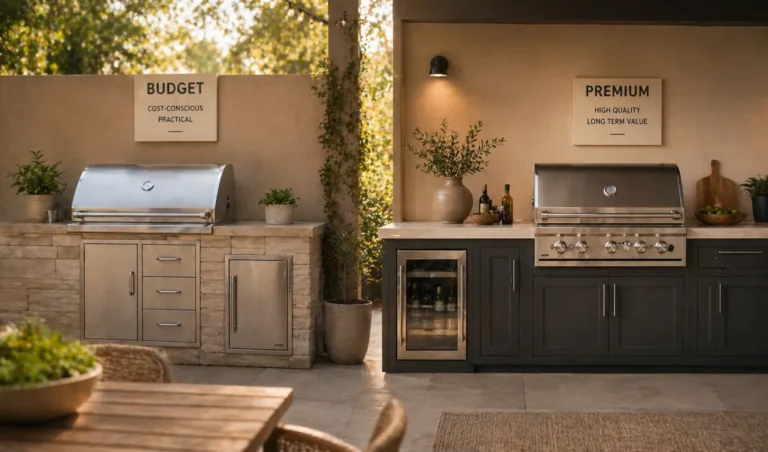
What’s the difference between outdoor and indoor kitchen cabinets?
Outdoor cabinets use marine-grade plywood, stainless steel or powder-coated frames, corrosion-resistant hardware, and sealed construction throughout. Indoor cabinets use standard plywood and hardware that corrodes quickly in outdoor conditions. Trying to save money by using indoor cabinets outside is a false economy – they fail fast.
Do I need to hire a professional installer?
If you’re comfortable with basic carpentry, power tools, and following detailed instructions, you can do this yourself. The key is taking time with site prep, leveling, and sealing – not rushing. If you’re unsure about anchoring to your specific foundation or dealing with slopes and drainage, hiring someone familiar with outdoor kitchens is worth the cost.
How do I prevent rust and corrosion?
Use stainless steel fasteners and hardware throughout. Apply exterior-grade sealant to all joints and seams. Clean cabinets regularly to prevent salt and mineral buildup. In coastal areas, rinse cabinets with fresh water occasionally to remove salt spray. Inspect hardware annually and replace anything showing corrosion.
Wrapping Up
Installing outdoor kitchen cabinets isn’t complicated, but it requires patience and attention to detail. The difference between a setup that lasts five years and one that lasts fifteen comes down to proper anchoring, waterproofing, and drainage – the unglamorous stuff nobody wants to think about. Take your time with site prep and sealing, use marine-grade materials throughout, and your outdoor kitchen will handle whatever weather throws at it.