Disclosure: As an Amazon associate, I may earn from qualifying purchases
Bread baking enthusiasts understand the significance of using the right tools to achieve perfect loaves. When it comes to bread pans and molds, those with lids offer unique advantages that elevate the baking experience.
If you’re curious about the benefits, proper usage, and alternatives for bread pans and molds with lids, you’ve come to the right place.
In this article, we will explore frequently asked questions surrounding lidded bread pans.
You can discover how these specialized baking tools enhance bread baking by providing a controlled environment that promotes optimal rising, even baking, and improved moisture retention.
Understanding how to use bread pans along with lids is key to successful baking. We’ll delve into the step-by-step process, covering key considerations such as dough preparation, shaping, and sealing the pan or mold with its lid.
In this post, you can uncover the techniques that ensure your loaves turn out beautifully every time.
For those who may not have access to dedicated bread molds, we also explore viable substitutes here. You can find out creative alternatives that can be used to achieve similar results, such as using oven-safe bowls or improvising with foil coverings.
Whether you’re a novice or an experienced baker, this article will provide valuable insights and practical tips to help you elevate your bread-making skills.
Read on to get close to bread perfection as we unravel the secrets, debunk the myths, and guide you through the wonderful world of baking bread with lidded pans and molds.
Frequently Asked Questions
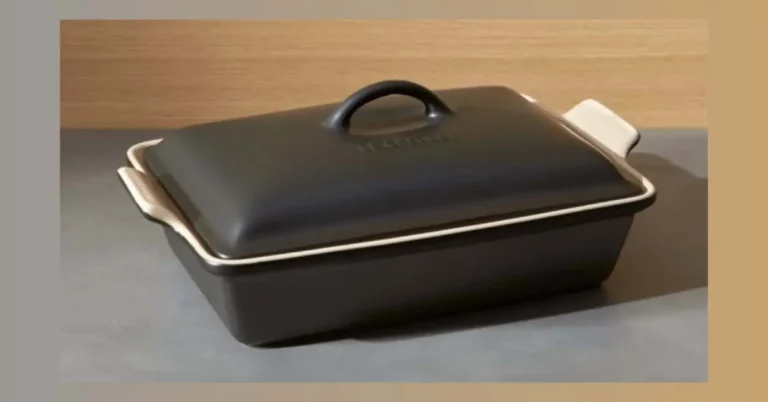
Why use a bread pan with a lid?
Using a bread pan with a lid, also known as a Pullman loaf pan, can be beneficial for several reasons:
So basically, using a bread pan with a lid can help you achieve a more consistent, evenly baked loaf with a soft texture and a desirable crust.
- Shape: The lid creates a square-shaped bread that is uniform in size and shape, making it ideal for slicing evenly.
- Texture: The lid creates a steamy, humid environment inside the pan, which helps the bread to rise evenly and develop a soft, tender texture.
- Crust: The lid helps to trap moisture inside the pan, which can prevent the bread from developing a thick, hard crust. This can be especially useful if you prefer a softer crust on your bread.
- Portability: The lid can be used as a cover, making it easier to transport the bread without it getting damaged or drying out.
So basically, using a bread pan with a lid can help you achieve a more consistent, evenly baked loaf with a soft texture and a desirable crust.
What do we call a loaf that is baked in a lidded pan?
A loaf that is baked in a lidded pan is commonly referred to as a Pullman loaf or a sandwich loaf.
The lidded pan creates a more square-shaped loaf with a flat top and straight sides, which is ideal for making sandwiches.
The lidded pan creates a more square-shaped loaf with a flat top and straight sides, which is ideal for making sandwiches.
How do you use a loaf tin with a lid?
Using a loaf tin with a lid is very similar to using a regular loaf tin.
Not all bread recipes are suitable for baking in a lidded loaf tin, so be sure to check your recipe before using this type of tin.
- Preheat your oven to the temperature specified in your recipe.
- Grease the loaf tin and lid with butter or oil.
- Pour your bread dough into the tin.
- Place the lid on top of the tin, making sure it is securely in place.
- Bake the bread according to your recipe instructions.
- When the bread is done, remove it from the oven and allow it to cool for a few minutes in the tin.
- Once the bread has cooled slightly, remove the lid and gently turn the tin upside down to release the bread.
Not all bread recipes are suitable for baking in a lidded loaf tin, so be sure to check your recipe before using this type of tin.
What is the difference between a loaf pan and a bread pan?
There is no difference between a loaf pan and a bread pan. Both terms refer to a rectangular or square baking pan that is used for baking bread, and can be made of various materials such as metal, glass, or ceramic.
The terms are often used interchangeably, and the choice of which term to use may depend on personal preference or regional differences in terminology.
The terms are often used interchangeably, and the choice of which term to use may depend on personal preference or regional differences in terminology.
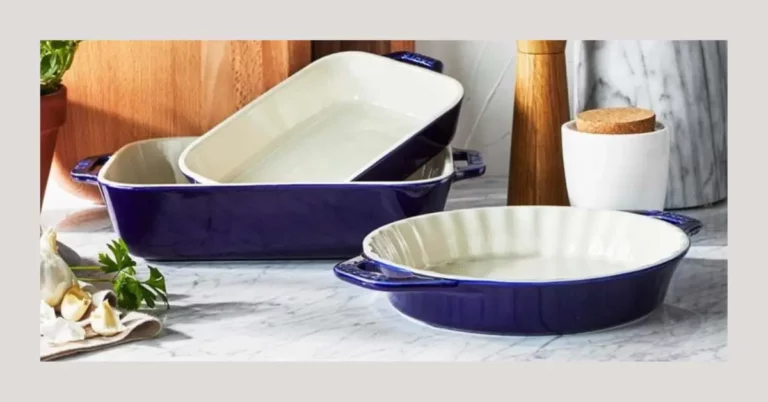
Should I use glass or metal pan for bread?
Both glass and metal pans can be used for baking bread, but they have some differences.
Metal pans are better at conducting heat and can produce a crisper crust, while glass pans are better at retaining heat and can produce a softer crust.
It is also easier to monitor the browning of the bread in a glass pan. Ultimately, the choice between a glass or metal pan for bread baking comes down to personal preference.
Should you butter a bread pan?
Yes, it is recommended to butter or grease a bread pan to prevent the bread from sticking to the pan. This will make it easier to remove the bread from the pan once it is baked.
Can I bake bread with a lid on it?
Yes, you can bake bread with a lid on it. Using a lid on the bread pan during the first half of the baking process traps steam and moisture, which helps the bread to rise and develop a crisp, chewy crust.
After the first half of the baking time, the lid can be removed to allow the bread to brown and develop a deeper crust.
Some bread recipes, such as those for Dutch ovens, require the use of a lid throughout the entire baking process.
After the first half of the baking time, the lid can be removed to allow the bread to brown and develop a deeper crust.
Some bread recipes, such as those for Dutch ovens, require the use of a lid throughout the entire baking process.
Should you bake bread with a lid?
Bread can be baked with or without a lid depending on the recipe and desired outcome.
Some recipes call for baking with a lid for a portion of the baking time to create steam inside the pan, which helps the bread rise and develop a crispy crust.
Other recipes are baked without a lid for the entire baking time to create a different texture and crust. It’s important to follow the recipe instructions carefully to achieve the desired result.
What happens if you don't cover bread while baking?
If you don’t cover bread while baking, the surface of the bread can dry out and form a crust prematurely, before it is fully baked inside. This can result in a loaf that is dense and hard, or that has a tough and chewy crust.
Also, without a cover, the bread may not rise as much as it would with a cover, as the moisture and steam trapped in the pan by the cover help it to rise and expand.
Also, without a cover, the bread may not rise as much as it would with a cover, as the moisture and steam trapped in the pan by the cover help it to rise and expand.
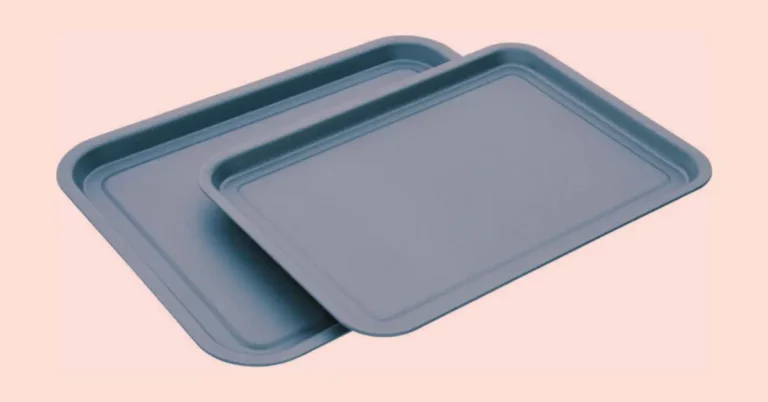
What can I use to cover my bread in the oven?
Here are some alternatives you can use to cover your bread in the oven :
- Aluminum foil: You can cover your loaves with aluminum foil for the first 20-30 minutes of baking to prevent it from browning too quickly. Be sure to tent the foil so that it doesn’t touch the bread, as this could cause it to stick and affect its texture.
- A Dutch oven or covered baking dish: A Dutch oven or covered baking dish can help trap steam and create a moist environment for your loaves to bake in. This can result in a crispy crust and soft, tender interior.
- A baking sheet or tray: You can also place a baking sheet or tray on the shelf above your bread while it’s baking to shield it from direct heat and prevent the top from browning too quickly.
Can I leave fresh baked bread uncovered overnight?
It’s not recommended to leave fresh baked bread uncovered overnight as it will cause it to dry out and become stale. To keep it fresh, it’s best to store it in an airtight container or bag at room temperature for up to 2-3 days.
If you need to keep it for longer, you can freeze it for up to 3 months.
If you need to keep it for longer, you can freeze it for up to 3 months.
What do you cover bread with?
Bread can be covered with a variety of things depending on the stage of baking or storing. During the initial rise, a clean kitchen towel or plastic wrap can be used to cover the dough.
When the dough is ready to be baked, a lid or foil can be used to cover the bread to trap steam and create a crispy crust.
Once the bread is baked and cooled, it can be stored in an airtight container, a plastic bag or wrapped in foil or plastic wrap to keep it fresh.
When the dough is ready to be baked, a lid or foil can be used to cover the bread to trap steam and create a crispy crust.
Once the bread is baked and cooled, it can be stored in an airtight container, a plastic bag or wrapped in foil or plastic wrap to keep it fresh.