Once upon a time, in kitchens around the world, a humble yet mighty tool reigned supreme—the cast iron skillet. Its legacy spans generations, passed down from grandmothers to grandchildren, each imparting their own wisdom on its care and mastery. The allure of a perfectly seasoned skillet, its surface glistening with promise, beckons both novice cooks and seasoned chefs alike.
Within its sturdy walls lies the secret to achieving unparalleled flavor, crispiness, and culinary excellence. But mastering the art of cast iron skillet cooking is no simple feat—it requires patience, practice, and a deep understanding of its nuances.
From the sizzle of seared steaks to the aroma of freshly baked cornbread, know that the cast iron skillet is more than just a piece of cookware, but also a cherished heirloom that holds the key to unlocking gastronomic delights.
Table of Contents
Understanding Your Cast Iron Skillet
The Anatomy
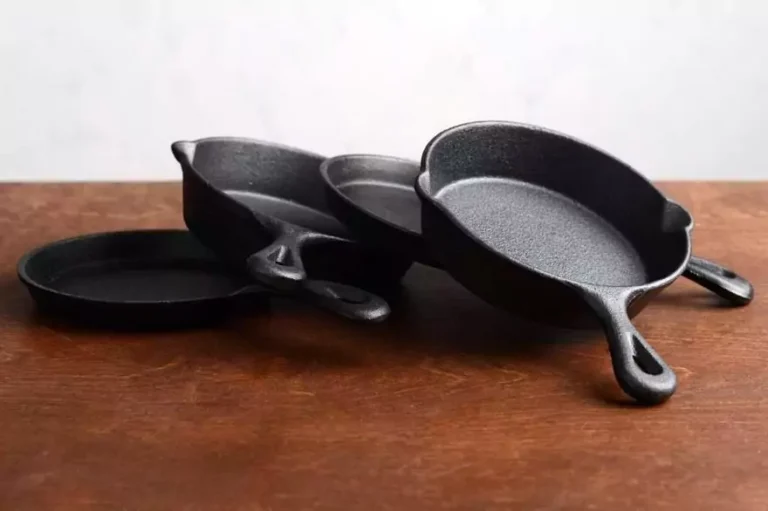
Cast iron skillets are heavy-duty cooking pans made from a single piece of cast iron. First up, the body of the skillet. It’s made of solid cast iron, which is super durable and retains heat like a champ. That’s why your grandma’s skillet from decades ago still cooks like a dream!
Now, flip it over and check out the bottom. You’ll see a smooth flat surface, while the sidewalls are slightly curved to contain food while cooking. This ensures even heat distribution, crucial for perfectly seared steaks or golden pancakes.
The handle is usually made of the same cast iron, making it sturdy and oven-safe. They are usually quite long for easy maneuvering. Just be careful, it gets hot!
Inside, you’ll notice the smooth and shiny seasoning. No, not salt and pepper. This is a layer of oil that’s been baked onto the skillet, giving it a non-stick surface and preventing rust.
Lastly, the size. Skillets come in various sizes, from small ones perfect for frying an egg to large ones for family-sized meals.
Seasoning
Let’s talk about seasoning your cast iron skillet, a crucial step for its care and performance. This basically means you create a layer of polymerized oil on its surface, which brings out its non-stickiness and protects it from rust.
First off, give it a good wash with warm, soapy water to clear away any gunk. Dry it thoroughly afterward. Next, grab your favorite cooking oil – vegetable or flaxseed works great.
Apply a thin layer all over, including the handle, using a paper towel. Now, pop it into a preheated oven, upside down, at 350°F (175°C). Let it bake for about an hour. This process helps create that fantastic non-stick surface.
Repeat this a few times to build up that protective layer. And voila! Your skillet is seasoned and ready to rock your kitchen.
Care and Maintenance
Caring for your cast iron skillet is essential to maintain its performance and prolong its lifespan. After each use, wash the skillet with hot water and a stiff brush, avoiding harsh soaps that can strip away the seasoning.
Dry the skillet thoroughly and apply a thin layer of oil to prevent rusting. Store the skillet in a dry place with good air circulation, and avoid stacking other heavy objects on top to prevent damage. With proper care, your cast iron skillet can last for generations, becoming a cherished kitchen heirloom passed down through your family.
Taking care of your cast iron skillet is key to keeping it in top-notch shape for years to come. Here’s the lowdown –
- After each cooking session, give it a gentle scrub with hot water and a sturdy brush. Avoid harsh soaps – they’ll mess with the seasoning.
- Once it’s clean, make sure it’s bone dry. Then, give it a light rubdown with oil to keep rust at bay.
- When it’s not in use, find it a cozy spot in your kitchen with good airflow. Don’t stack anything heavy on top – let your skillet breathe!
And now you can pass it down to be a kitchen MVP for generations and keep those culinary traditions alive.
Preparing Your Skillet
Cleaning Prep
Alright, let’s get into the nitty-gritty of prepping your cast iron skillet – cleaning and drying! This step is crucial for keeping your skillet in tip-top shape and ready for all kinds of exploration.
First things first, after you’ve cooked up a storm, it’s time to give your skillet a little love. Grab some hot water and a sturdy brush – no need for soap here. Gently scrub away any food bits and grease. This helps preserve the seasoning that gives your skillet its non-stick powers.
Once it’s squeaky clean, dry it thoroughly. Seriously, moisture is the enemy of cast iron, so don’t skimp on this step. You can either air dry it or pop it on the stove over low heat for a minute or two to make sure every nook and cranny is bone dry.
Now, here’s a pro tip – if you notice any stubborn bits stuck on, don’t panic. Pour a little coarse salt into the skillet and give it a scrub with a paper towel. The salt acts as a gentle abrasive to help loosen up the gunk without scratching your skillet.
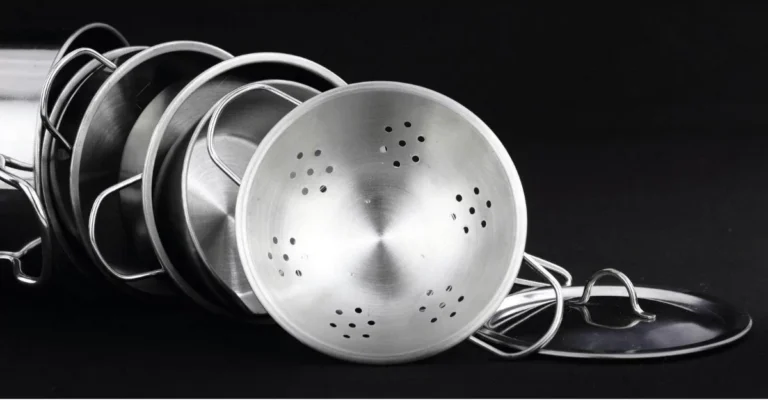
If you are looking for something more lightweight, easier maintenance and resistant to corrosion, then stainless steel pans are the way to go.
And there you have it – a sparkling clean skillet ready for your next seared dish. Keep up this routine, and your skillet will reward you with delicious meals for years to come!
Preheating
Now lets get to getting your cast iron skillet ready for action. The first step is preheating! This step is key for ensuring your skillet is primed and ready to cook up a storm.
First off, place your skillet on the stove over medium-low heat. You want to give it some time to gradually warm up – think of it as easing into a workout rather than jumping straight into a sprint.
While it’s heating up, you can prep your ingredients or gather any other kitchen tools you’ll need. Multitasking for the win, or so they say…
To check if your skillet is ready, sprinkle a few drops of water onto the surface. If they dance around and evaporate almost instantly, you’re good to go. If they sit there looking sad and unmoving, give it a bit more time to heat up.
Now, here’s the thing – don’t rush this step. Patience is key when preheating your skillet. It’s all about getting that surface nice and evenly hot for that perfect sear or crispy crust.
Once your skillet is heated to perfection, it’s hammer time! Sorry, not sorry, for the F1 reference. Now whether you’re frying, sautéing, or searing, your skillet is ready to work its magic.
Choosing The Right Cooking Oil

And now we talk about one of the most crucial choices you’ll make when cooking with your cast iron skillet – choosing the right cooking oil. This decision can make all the difference in how your food turns out, so let’s break it down.
First off, you want to choose an oil with a high smoke point. That’s the temperature at which the oil starts to break down and smoke. Since cast iron skillets can get really hot, you need an oil that can handle the heat without burning or imparting off flavors to your food.
Some great options include vegetable oil, canola oil, and grapeseed oil. These oils have smoke points high enough to withstand the high temperatures of cast iron cooking without smoking or burning.
Now, if you’re looking for a more flavorful option, you can’t go wrong with olive oil. Just make sure to choose a refined olive oil with a higher smoke point, as extra virgin olive oil has a lower smoke point and may not be suitable for high-heat cooking in a cast iron skillet.
And hey, if you’re feeling adventurous, you can even try out specialty oils like avocado oil or coconut oil. Just make sure to do a little research beforehand to ensure they’re suitable for the dish you’re cooking.
Tips and Tricks
Avoiding Common Mistakes
✦ First off, don’t forget to preheat your skillet. This step is essential for getting that perfect sear or crispy crust, so don’t rush it. Give your skillet some time to heat up nice and evenly before you start cooking.
✦ Another common mistake is overcrowding the skillet. Cast iron skillets are great for cooking in batches, but if you cram too much food in there, you’ll end up with a sad, soggy mess instead of beautifully browned deliciousness. Give your ingredients some space to breathe and cook evenly.
✦ Next up, don’t be afraid to use a little elbow grease when cleaning your skillet. While you don’t want to go overboard with harsh scrubbing, a little bit of effort can go a long way in keeping your skillet in tip-top shape. And remember, no soap!
✦ Finally, don’t neglect your skillet’s seasoning. This protective layer of oil is what gives your skillet its non-stick properties and keeps rust at bay. Make sure to give it some love every now and then by seasoning it with a thin layer of oil and baking it in the oven.
Polishing Up
Cleaning and storing your cast iron skillet is essential for maintaining its quality and longevity. To clean without damaging its seasoning, follow these simple steps.
Firstly, avoid using harsh detergents or abrasive scrubbers. Instead, opt for hot water and a soft sponge to gently remove any food residue. Remember, the seasoning on your skillet is a delicate layer that can be easily stripped away by harsh chemicals or rough scrubbing.
After washing, thoroughly dry the skillet with a clean towel to prevent rusting. Moisture is the enemy of cast iron, so make sure it’s completely dry before storing.
To store your skillet, avoid stacking other pots and pans on top of it. This can cause unnecessary wear and tear on the seasoning. Instead, place a paper towel or cloth between each skillet to protect the seasoning from scratching.
If your skillet does lose some of its seasoning over time, don’t worry! You can easily re-season it by applying a thin layer of oil and heating it in the oven. This will help restore its non-stick properties and prolong its lifespan.
Maximizing The Lifespan Of Your Cast Iron
✦ After cleaning your skillet, ensure it’s completely dry. Any lingering moisture can lead to rust formation, so take extra care to dry it thoroughly with a clean towel.
✦ Next, apply a thin layer of oil to the skillet’s surface. This creates a protective barrier against moisture and prevents rust from developing. Use a neutral oil like vegetable or canola oil, and make sure to coat the entire surface, including the handle.
✦ Once oiled, store your skillet in a cool, dry place. Avoid storing it in areas with high humidity, like above the stove or under the sink, as moisture in the air can promote rusting. Instead, choose a cupboard or pantry where it won’t be exposed to moisture.
✦ If you’re stacking skillets, place a paper towel or cloth between each one to prevent scratching and allow for proper air circulation. This helps maintain the integrity of the seasoning and prevents rust from forming between the layers.
✦ Periodically check your skillet for any signs of rust, especially if it’s been stored for an extended period. If you do spot rust, don’t panic! Simply scrub it off with a gentle abrasive pad or steel wool, re-season the skillet, and store it properly to prevent future rusting.
Our Top Picks
Here’s our top 3 choices for high quality cast iron skillets to help you whip up mouthwatering meals with ease.

