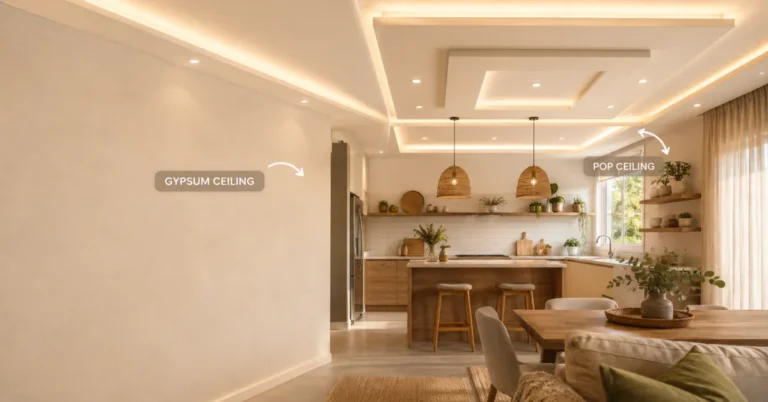
POP ceilings look crisp and clean when they’re new, but they’re also one of the easiest surfaces in your home to neglect. Dust settles, water stains appear, and that pristine white finish starts looking tired faster than you’d expect. The good news? Keeping a POP ceiling looking fresh doesn’t require professional help or expensive treatments – just a solid maintenance routine and the right approach.
POP ceilings (Plaster of Paris) are porous, dust-prone surfaces that benefit from regular dusting every 2-4 weeks, spot cleaning for stains with mild solutions, and occasional deep cleaning with appropriate products. The key is gentle handling since POP is delicate – avoid excessive moisture, harsh chemicals, and aggressive scrubbing that can damage the finish or cause discoloration.
Understanding Your POP Ceiling and Why It Needs Care
POP is a popular choice for hall ceilings because it’s affordable, looks elegant, and provides good sound absorption. But that same porous nature that makes it attractive also makes it a magnet for dust, moisture, and stains. Unlike painted drywall, POP absorbs particles and can show water damage more visibly.
The material is also softer than alternatives like gypsum board, which means it’s more vulnerable to impact damage and moisture penetration. Understanding these characteristics helps you develop a maintenance plan that actually works rather than one that causes more harm.
Regular Dusting – Your First Line of Defense
Dust accumulation is the biggest culprit behind dull-looking POP ceilings. Weekly or bi-weekly dusting prevents buildup and keeps your ceiling looking newer longer.
The right dusting technique
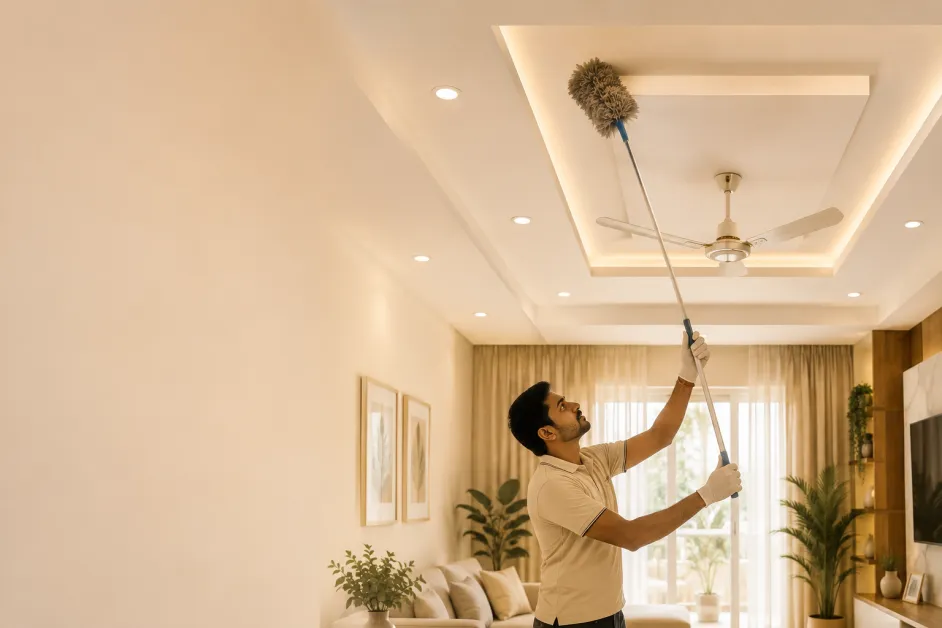
Use a soft-bristled brush or a microfiber duster attached to an extendable pole – this lets you reach high areas without stretching dangerously. Avoid stiff brushes or brooms, which can scratch or damage the POP surface. Move gently in one direction rather than scrubbing back and forth.
If you’re using a vacuum with a brush attachment, keep it on low suction and use a soft brush head. The goal is removing dust without pushing it deeper into the pores or creating scratches.
Timing matters
Dust your ceiling on dry days when humidity is lower. Moisture in the air can make dust stick more stubbornly and increase the risk of water spots forming during cleaning.
Spot Cleaning Stains and Marks
Stains on POP ceilings usually fall into a few categories – water marks, dust spots that won’t brush away, and occasional marks from cooking or humidity. Each needs a slightly different approach.
Water stains and moisture marks
These appear as yellow or brown patches, usually from roof leaks, pipe issues, or high humidity. Before you clean, identify and fix the moisture source – otherwise, the stain will return. Once the leak is sealed, you can address the discoloration.
Mix a solution of one part white vinegar to three parts water. Dampen a soft cloth (not soaking wet) and gently dab the stain. Let it dry completely, then repeat if needed. Avoid rubbing, which can spread the stain or damage the POP surface.
Dust and dirt spots
For stubborn dust spots that regular dusting misses, use a barely damp microfiber cloth with just water. The key word is barely – excess moisture can cause the POP to absorb water and weaken. Dab gently rather than wipe.
Marks from cooking or humidity
Kitchen ceilings near cooking areas sometimes develop greasy or yellowish marks. A solution of equal parts water and mild dish soap (just a drop or two of soap in a cup of water) works well. Again, use minimal moisture and dab rather than scrub.
Deep Cleaning Without Damage
A few times a year, a gentle deep clean helps restore brightness. This isn’t about aggressive scrubbing – it’s about careful, methodical cleaning that respects the material.
What to avoid
Skip bleach, ammonia-based cleaners, and abrasive scrubbing pads. These can discolor POP, create patchy finishes, or break down the material itself. Also avoid steam cleaners and high-pressure washers, which force moisture into the porous surface.
Your deep-clean approach
Mix a solution of warm water with a few drops of mild dish soap or a commercial ceiling cleaner designed for POP. Test it on an inconspicuous area first. Using a soft cloth or sponge, gently wipe sections of the ceiling, working in small areas. Rinse with a separate cloth dampened in plain water, then dry immediately with a clean, dry cloth.
Work systematically across the ceiling rather than randomly jumping around. This helps you track what you’ve cleaned and avoid missing spots.
Preventing Common POP Ceiling Problems
Prevention is easier and cheaper than repair. A few habits go a long way.
Control humidity
High humidity is POP’s enemy. Use exhaust fans in kitchens and bathrooms, ensure proper ventilation, and consider a dehumidifier in humid climates. Keeping humidity between 30-50% protects your ceiling and your entire home.
Address leaks immediately
Water damage spreads quickly in POP. If you spot a leak or water stain, identify the source right away. A small roof leak becomes a major ceiling problem if ignored.
Protect during painting or renovations
If you’re painting walls or doing other work nearby, cover your ceiling with plastic sheeting. Paint splatters are hard to remove from POP without causing damage.
Avoid hanging heavy items
POP can’t support much weight. Avoid hanging ceiling fans, heavy light fixtures, or decorative items directly from POP ceilings unless properly reinforced. Use ceiling anchors rated for your specific ceiling type.
When to Call a Professional
Some ceiling issues go beyond DIY maintenance. If you notice large cracks, significant water damage, sagging sections, or mold growth, it’s time for professional help. These indicate structural problems or moisture issues that need expert assessment and repair.
Similarly, if your ceiling has never been professionally cleaned and is heavily stained or discolored, a professional cleaning service with experience in POP ceilings might restore it better than home methods.
Frequently Asked Questions
How often should I dust my POP ceiling?
Every 2-4 weeks is ideal for most homes. Kitchens and high-traffic areas might need weekly dusting. The goal is catching dust before it accumulates and becomes harder to remove.
Can I paint over stains on my POP ceiling?
You can, but it’s better to address the stain first. If it’s a water stain, painting over it won’t solve the underlying moisture problem – the stain will bleed through again. Fix the source, clean the stain, and then paint if needed.
What’s the best cleaner for POP ceilings?
Mild dish soap and water is your safest bet. If you want a commercial product, look for cleaners specifically labeled for POP or gypsum surfaces. Always test on a hidden area first and use minimal moisture.
Will cleaning damage my POP ceiling?
Not if you use the right technique – gentle, with minimal moisture, and soft tools. Aggressive scrubbing, excessive water, or harsh chemicals are what cause damage. Treat it like you’re cleaning a delicate surface, not a kitchen countertop.
How do I fix small cracks in POP ceilings?
Hairline cracks can be sealed with POP filler or spackling compound, then sanded smooth and painted. Larger cracks or recurring cracks suggest structural issues and need professional evaluation.
In Closing
A clean POP ceiling makes a real difference in how a room feels – it’s one of the first things people notice. Regular dusting, gentle spot cleaning, and addressing moisture issues early keep your ceiling looking fresh without requiring expensive repairs or replacements. The effort is minimal, but the payoff in appearance and longevity is substantial.